Isolate Your Smart Home Devices with UniFi
Introduction
Smart devices, on your network, can pose a potential security risk. Some devices may send data to foreign servers while others may not store your passwords in a safe format. It is estimated that over 90% of data transactions on IoT devices are unencrypted.
Given that it’s impossible to know the ins and outs of each smart devices’ hardware and software, it’s best to take control of what you can; your home network. If you care about your privacy and want to take control, you can use your UniFi setup to keep your information secure.
This guide will teach you how to use the UniFi Controller to create VLANs to separate your smart home traffic from your personal devices.
Create a New Smart Home Network


- Navigate to the Networks tab in the UniFi controller’s settings and click Create New Network.
- Name the network whatever you want.
- I chose IoT for “internet of things“, a growing term for miscellaneous connected devices that can transfer data over a network.


- Configure your network.
- Create a corporate network.
- Give the network a VLAN number for identification.
- Pick a subnet to use and range of IP addresses. Use what you want or copy my configuration.
- 10.0.0.1/16 for the subnet
- 10.0.0.1-10.0.255.254 for the DHCP range
- After you save, you should see the new network in the Networks list.
Now you have a new network for your smart home devices. By default, UniFi will allow corporate networks to communicate with each other, so you will need to set up a couple of rules to keep your networks separate.
Separate the Networks


- Click on the Routing & Firewall tab in the settings menu.
- At the top of the screen, click Firewall, then click Groups.


- Click Create New Group and fill in the form with the information you used to create your new network.
- This group will be used to label the network with your smart home devices, you can name it whatever you want.
- Save and confirm the changes were saved.

- From the Firewall screen, click the LAN IN tab.

- Click Create New Rule.


- Now you will create the first rule. This one will stop anything on the smart home network from communicating on any other network.
- Name: Whatever you want
- Action: Drop
- Protocol: All
- States: New
- Source Type: Network
- Network: Choose your IoT Group you created in the previous step.
- Destination: Network
- Network: Choose your main private home network.


- One last rule will allow established and related traffic to travel from your smart home network and home network. This will allow your smart home devices to reply to requests that originate on your home network.
- Name: Whatever you want
- Action: Allow
- Protocol: All
- States: Established, Related
- You can leave the Source and Destination sections as is.
You’ve now established 2 distinct networks and secured your home network from your smart home network. Now you will want to connect your devices to the new network. You can do this either wirelessly, or with a wired connection.
Create a New Wireless Network
The process for creating a new wireless network is simple and straightforward.


- From the Wireless Networks tab on the UniFi Controller’s settings, click Create New Wireless Network.
- Now choose your settings.
- Name: Pick whatever you want
- Enable the network, set the security to WPA Personal, and pick a password.
- In the Advanced Options, check Use VLAN and enter the number you gave your smart home network.
- Save your settings.
Wireless smart home devices typically only support the 2.4 GHz WiFi range. You can turn off the 5 GHz network easily with UniFi.


- Select your wireless AP from the Devices tab and navigate to it’s Config tab.
- Scroll down to WLAN 5G and click the edit button next to the name of your wireless smart home network.
- From here you can un-check the Enable on this AP.


- Save your changes, click Queue Changes, scroll down and Apply Changes.
Now you will have a 2.4GHz wireless network that is part of your smart home network. Any devices connected to this, will be segregated from your home network.
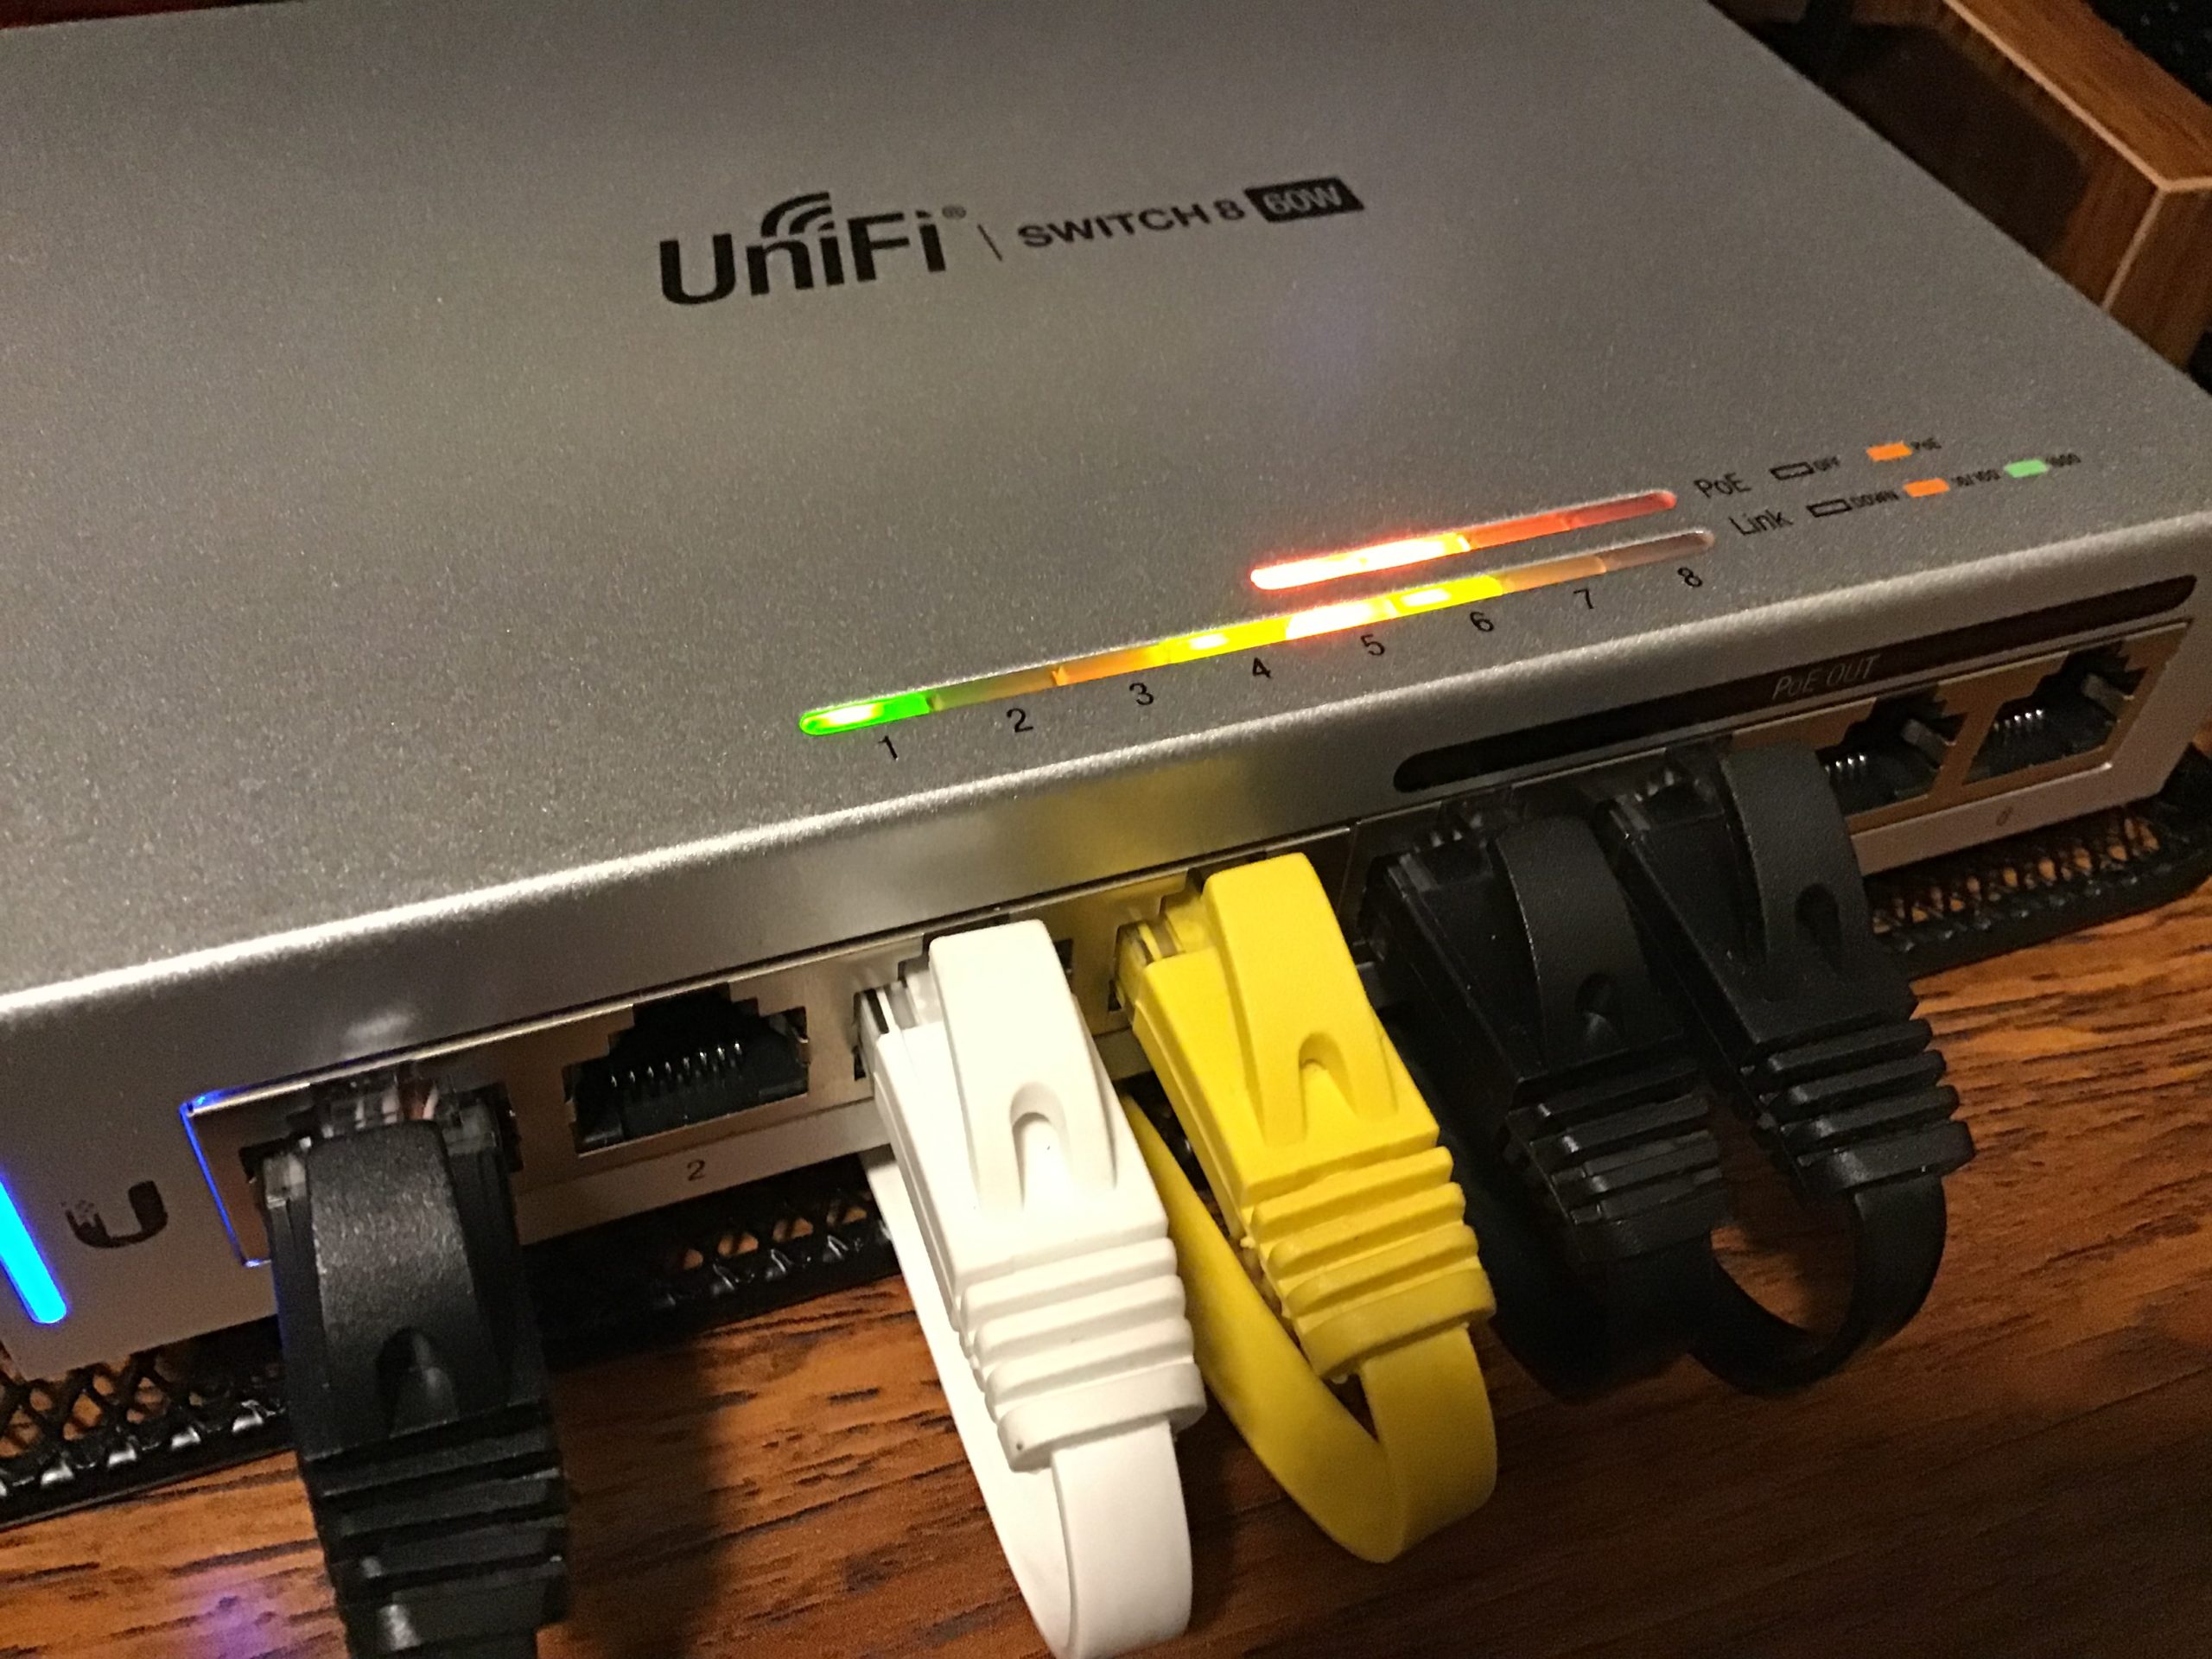
Add Switch Ports to Your Smart Home Network
Lastly, you may want to connect a wired device to your smart home network. This is also a simple process to set up.


- On the Devices tab, select your switch.
- Click the Ports option in the switch’s panel.
- Select the port you want on the smart home network.
- Change the Switch Port Profile to the group you created earlier.


- Scroll down and click Apply to save your changes. You should see your switch provisioning and your changes will go into effect shortly.
Conclusion
After following the above steps, your home network is prepared to better serve your smart home needs while keeping any information on your personal home network safe from any questionable smart home devices.
If you’ve finished setting up your network before beginning your smart home, check out Parts of a Smart Home to learn more about how smart homes work.
Extra Help
Did you find an error or need some extra support? Please reach out in the comments and I will do my best to help!
-Alex


Pingback: Episode 271 - Smart Home All The Things