Using the Xiaomi Gateway & Button
I’ve fallen in love with my Xiaomi Smart Home kit. It really is an affordable, quality product. After connecting the Xiaomi Gateway to Home Assistant and the rest of my Smart-Home set up, I spent some time thinking about how I wanted to use it with the different sensors. I started with the Button. The lamps in my living room do not have light switches, so using the Button as a light switch was a pretty obvious choice. The Gateway also has a couple more trick up its sleeve, that I’ll show you here.
This guide will teach you:
- How to control the Gateway’s light with Home Assistant.
- How to use the Gateway’s sound effects.
- How to set up and use the (1st Gen) Xiaomi Button.
Notice:
This post has been marked as a legacy post and has been flagged to be updated.
If you would like to receive updates from Smart Home Hobby, please subscribe below.
The Xiaomi Gateway

Gateway Light
By the end of the Xiaomi Gateway post, you should have been able to turn on and off the Gateway with the Home Assistant front end, as well as Alexa using your Echo device. The light can also be controlled using scripts.


https://gist.github.com/smarthomehobby/10483d70e483a475592e5086900e5e91
- When utilizing a script, you can set the RGB Color, and the Brightness (0-255).

- I recommend finding a color you like, by using the Home Assistant front end, then checking the light’s state in the Developer’s Tools section of the menu.
- Note the min_mireds and max_mireds parameters. These appear to be related to color temperature. I have not learned, yet, how or if these can be utilized.
- I’ve found [255,103,23] to be a pretty good “Warm White” color.
- This site has some helpful RGB codes for different types of lighting.
Gateway Sounds
- The Gateway also has built in sound effects that can help the Gateway be used as a security alarm, an alarm clock, or a doorbell.
- You can test/hear the different sounds within the MiHome App.
- From the Gateway page, choose Devices
- Choose the Gateway
- Here are some more of the Gateway’s settings
- I recommend changing the volume settings before testing the sound effects, it can be pretty loud.
- I turn off the Radio and Notification volumes. The Radio stations are all in Chinese, and the Notification volume refers to the Chinese voice prompts.
- Now, you can go the Ringtone settings
- Go ahead and give them a go!
Ringtone ID’s
- To reference these sounds in Home Assistant, you’ll need to use a ringtone_id. Home Assistant’s docs has them ID’d like this:
- Alarms
- 0 – Police car 1
- 1 – Police car 2
- 2 – Accident
- 3 – Countdown
- 4 – Ghost
- 5 – Sniper rifle
- 6 – Battle
- 7 – Air raid
- 8 – Bark
- Doorbells
- 10 – Doorbell
- 11 – Knock at a door
- 12 – Amuse
- 13 – Alarm clock
- Alarm clock
- 20 – MiMix
- 21 – Enthusiastic
- 22 – GuitarClassic
- 23 – IceWorldPiano
- 24 – LeisureTime
- 25 – ChildHood
- 26 – MorningStreamLiet
- 27 – MusicBox
- 28 – Orange
- 29 – Thinker
- Alarms
- The services you can use are xiaomi_aqara.play_ringtone and xiaomi_aqara.stop_ringtone.
- Note that the sound effects will stop playing once it has ended, the stop ringtone service will just stop the sound effect earlier.
- Pushing the button on the Gateway will also stop the sound. This would work really well for an alarm clock.

https://gist.github.com/smarthomehobby/644b6c84e0ddc44cfd8f29f2ef36fe95
- This configuration can be added to a trigger for an automation.

https://gist.github.com/smarthomehobby/12bad9aae08f886ed4b0da75ef77fd13
- This can alse be configured as a script.
- Remember to add the script to a group so you can access it.
- gw_mac is the Gateway’s mac address and is required along with the ringtone_id.
- ringtone_vol is not required.

Setting up & Using the (1st Gen) Xiaomi Button
I used Google Translate to provide a Shoddily Translated English Manual for the Xiaomi Button
Setting up the Button
The Smart-Home kit I purchased came with a 1st Gen Button. There is also a 2nd Gen Button available. I think the 1st Gen works well for general usage, though I am interested in getting a 2nd Gen Button to use as a Doorbell.
The first thing you’ll need to do is connect the Button to the Gateway, which is really easy.
- Push the button on the Gateway 3 times.
- Be careful, holding the Gateway button down for 5 seconds will reset the Gateway.
- If the Notification volume is still on, the Gateway will prompt you to connect the sensor.

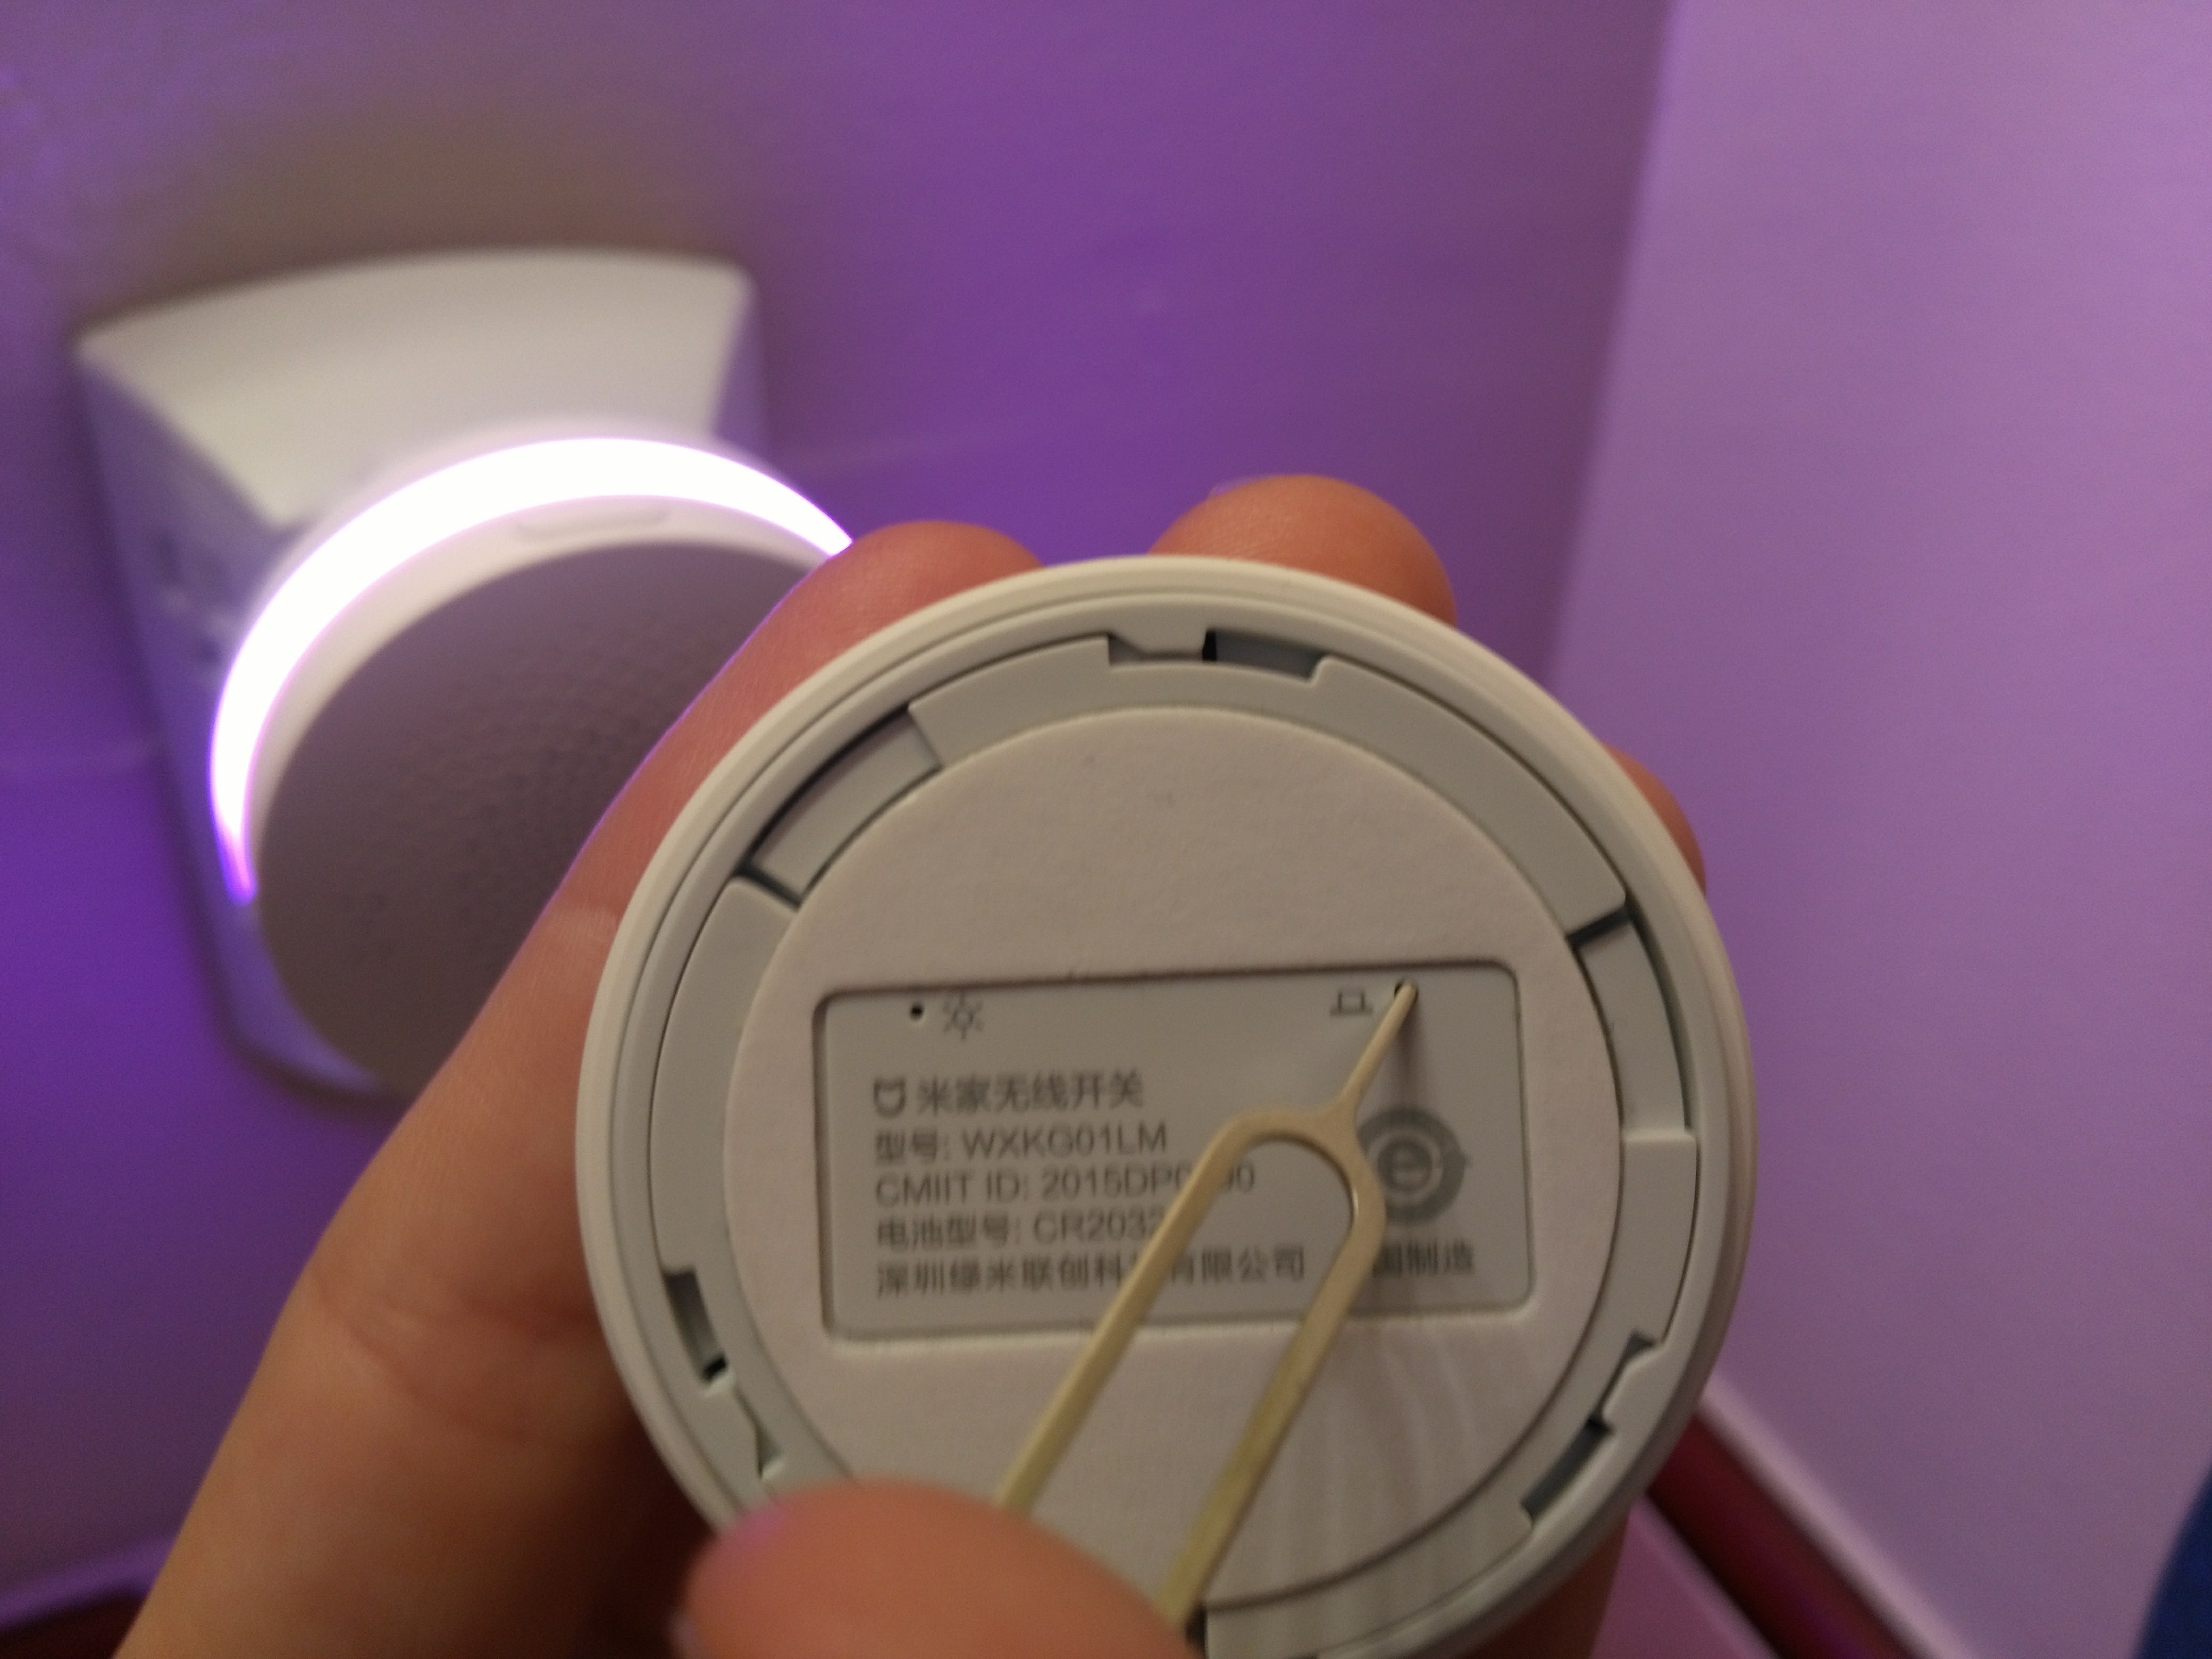
- Use a pin or sim card tool to push into the hole on the back of the Button.
- It should now be connected.

- You can confirm the connection within the App or by restarting Home Assistant searching for it in the Developer Tool’s States page.

- Now that the button is set up, you can check that its connection still works wherever you put it by pushing the hole with a pin again. This will make the Gateway confirm if it’s still connected.
Using the Button
All of the Xiaomi sensors are categorized as binary sensors.
- The docs state that this Button has 5 separate click types:
- single
- double
- hold,
- long_click_press
- long_click_release
- The 2nd Gen Button has 2 separate click types
- single
- double

https://gist.github.com/smarthomehobby/1e6630cde915283e3b519e024077ef17

https://gist.github.com/smarthomehobby/8c4a630df31fe690f628b7665fb3949a

https://gist.github.com/smarthomehobby/a6fd54619dabed1ff779bf9e3954b2f8
- You will use the click types as automation triggers, but can connect them to do anything you want.
- You can also use the automation to set off a script.
The Xiaomi Gateway and Button are great devices for anyone who wants to add more versatility to their Smart-Home set up. They work well, look great, and are a fraction of the price of their competitors. I highly recommend them. If these guides have been helpful to you, please share them! If you have any questions, please reach out to me in the comments. Thanks for visiting!
If you’re interested in getting started with the Xiaomi Gateway, I recommend starting with one of the kits.
Different Gateway Kits Available

- I purchased my Gateway with the Smart Home Aqara Security Kit. This came with the Gateway, a Button, and 2 Door/Window Sensors (as pictured above), but there are other kits available.

- The Xiaomi 5 in 1 Smart Home Security Kit includes the Gateway, a Button, a Door/Window Sensor, a Motion Sensor, and the Outlet (Zigbee Version).

- Lastly, there’s the Xiaomi mijia 6 in 1 Smart Home Security Kit, which includes The Gateway, a Button, a Door/Window Sensor, a Motion Sensor, an Outlet (Zigbee Version), and a Temperature Humidity Sensor.
All of the parts can also be purchased individually:
- Xiaomi Aqara Gateway.
- Temperature and Humidity Sensor (1st and 2nd generation)
- Motion Sensor (1st and 2nd generation)
- The 1st generation Motion Sensor is available with this Gateway kit
- Door and Window Sensor (1st and 2nd generation)
- Button (1st and 2nd generation)
- Plug aka Socket (Zigbee version only, reports power consumed, power load, state and if device in use)
- Wall Plug (reports power consumed, power load and state)
- Aqara Wall Switch (Single)
- Aqara Wall Switch (Double)
- Aqara Wireless Switch (Single)
- Aqara Wireless Switch (Double)
- Cube – Magic Controller
- Smoke Detector (reports alarm and density)
- Gateway (Light, Illumination Sensor, Ringtone play)
- Intelligent Curtain
- Water Leak Sensor

hey, is it possible to use the switch as an on/off switch? so i use a single click to turn it on and another single click to turn it off? currently the switch turn my devices on and off again.
Hey Johnny, the switch.toggle service will turn a device that is on, off and the other way around. The example I provided would be the one that does this. When you push the button, the device is turning on then off? What does your automation look like?
oh i used
service: homeassistant.turn_on
entity_id: scene.nightlight
but i think its not possible to turn off the scene without a second automation
– alias: ‘xiaomi wireless button turn off’
trigger:
platform: event
event_type: click
event_data:
entity_id: binary_sensor.switch_158dxxxxxxxxxxxxx
click_type: long_click_press
action:
service: homeassistant.turn_off
entity_id: group.lights
i want to do the turn off automation with a click_type: single too but in this case the scene goes on and then the second automation triggers and everything goes off
Here is my implementation for Xiaomi Gen1 buttons https://pastebin.com/JmK806Gi
That’s great! Thanks for sharing.
Hey are you gonna make a post about the mqtt stuff like mqtt switches or mqtt fans?
No. I don’t have any use for or experience with mqtt yet.
Do you know if the Xiaomi 2nd Gen button is supported by Home Assistant? I added a couple of these buttons, they seem to work OK in the Xiaomi app, but HA does not recognize them.
It should be. That’s the square one, right? https://home-assistant.io/components/xiaomi_aqara/
First of all, thanks for your response. Yes, the square one is the 2nd Gen. I was expecting to see the state change (in states or my default view) when pressing these buttons. I have one of the 1st gen buttons which show the state changing. After setting up an automation for the 2nd gen buttons, I found that they do indeed work, just no visual confirmation (blush). Sorry to have bothered you, I should have checked more thoroughly before posting.
No worries, I’m happy to help. I know the 2nd gen button works differently than the 1st gen ones. It has fewer values than the first and doesn’t show an “on” state at all. Here’s the page I was thinking about when I posted the other link. https://home-assistant.io/components/binary_sensor.xiaomi_aqara/
Do you happen to know if the switch can work with echo devices? I got one but can’t for the life of me get it into the Amazon app.
Hi Kieren,
I’m sorry but I not longer have this device. You would probably need to download the MiHome Alexa skill (there are 3 different ones I think). So, you may need to try different combinations of the Alexa skill and the different Mi Home servers.